Whether it’s creating a tasty meal, tanning a hide, preparing our own euro mount trophies, or capturing the moment on video, we love making the most of our hunting lifestyle. In this quick tutorial, we show you how to tan a hide at home.
Tanning a deer hide is not an easy task – there are a few steps involved – but it is very rewarding to have put that time and effort in yourself, and to end up with a beautiful hide to display in your home. Although the methods and the chemicals may have changed, this is something that humans have been doing since the dawn of time.
Here is our step-by-step guide on how to tan a hide at home. We hope you find it useful. We have put together some simple FAQs about this process, and have also included links at the bottom of this tutorial for where you can purchase all of the ingredients you’ll need. While you can get some of it from the supermarket, like the citric acid, it gets quite expensive as they only sell very small jars. We buy ours in bulk from eBay.
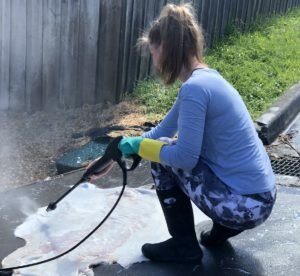
Please note: this tutorial assumes that your animal skins have already been cleaned of all meat and flesh. We use a pressure washer to do this and it makes pretty short work of what is otherwise a messy and laborious task.
Step 1 – Defrost your hides
Very few people begin the tanning process immediately after your hunt. If you’re like us, you probably have a freezer full of untanned hides. To start this process, you will need to first defrost the hide. You don’t want to do this by just taking the hides out of the freezer and leaving them somewhere to thaw. This allows unwanted bacteria to start growing on the skin and could cause hair slip on your finished hide (this is where the hair falls out in patches that have started to decay).
Instead, prepare a brine solution to slowly defrost the hides:
Approx. 20L of clean, fresh water
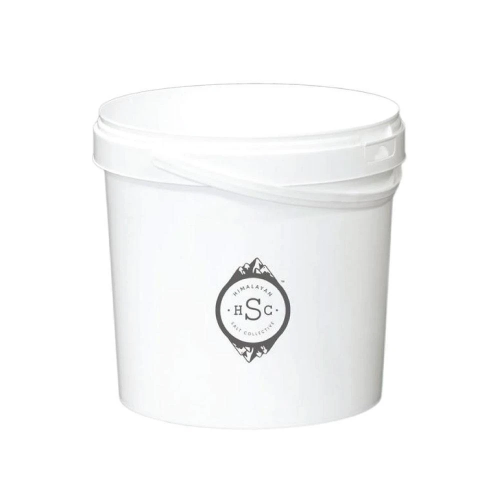
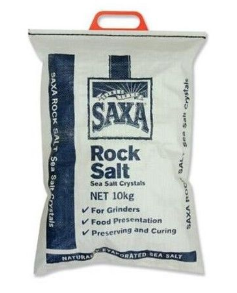
4 kg salt
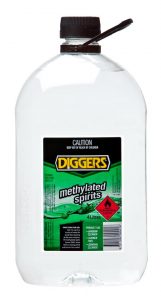
1L Methylated spirits
*enough for 2-3 deer skins
Once you have mixed the ingredients above, place the hides into the solution and leave to soak. If possible, you should return every few hours to stir the hides. This will ensure that the they are completely covered in the solution as they defrost. It shouldn’t take any more than about 24 hours for the skins to fully thaw.
**Please be careful to wear gloves and eye protection for the next two steps.**
Step 2 – Acid pickle
The acid pickle is a solution with a low pH (around 2-3 pH). It helps to get rid of the unwanted protein in the animal skin, which helps the tanning chemical to better adhere to the skin. Pickling also kills any remaining bacteria on the skins and helps to set the hair.
Acid pickle:
85g (3oz) citric acid
450g (1lb) salt
per 4L (1 gallon) clean water*
*need approx. 20L for 2-3 deer skins
The pickle bath needs to stay at a pH lower than 3 while the skins are soaking. The closer to neutral that the solution gets, the more chances for bacterial growth, which will affect the quality of your finished hide. We purchased an at-home pH tester kit.
The skins need to soak in the pickle solution for between 2-5 days, depending on their size and thickness. For an average size deer hide, you want to leave it in the solution for approx. 3 days.
Step 3 – Neutralising the pickle
The pickle solution is quite acidic so both the skins and the solution will need to be neutralised before tanning. Remove the skins from the solution and mix 2-3 tbsp of bicarbonate soda into the acid pickle. Leave until the solution stops foaming and then you can dispose of it.
For the skins, you need to mix a neutralising solution:
1 tbsp bicarbonate soda
per 4L (1 gallon) water*
*need approx. 10L for 2-3 deer skins
Leave the skins to soak in the solution for a maximum of 15-20 mins. You should set a timer for this as the solution will make the skins go tough if they are left in there for longer. Rinse the skins with clean water.
Step 4 – Prepare the tanning solution
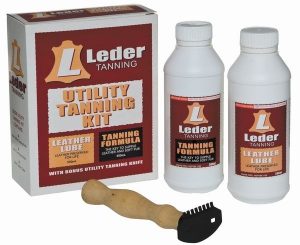
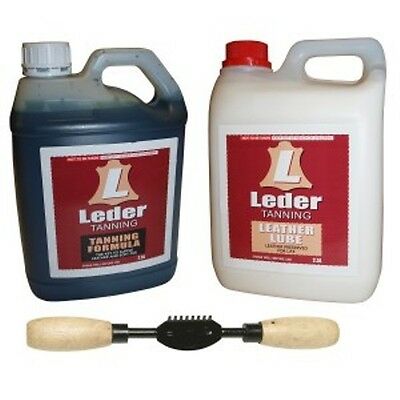
We use the Leder Tanning Kit. It includes the tanning chemical, leather oil and a fleshing knife. The 500ml bottle of tanning chemical will tan approx. 6kg of skins (between 4-6 deer hides, depending on their size). There are a number of different brands and options for tanning chemicals. We choose to use Leder, as it is a chromium-based solution, so it will not wash out of the hide.
NOTE: I Am Hunter members can get 10% off this kit through Mansfield Hunting and Fishing (discount code in our Trophy Room).
We like to use our hides as rugs on the floor and they inevitably get dirty so it is nice to be able to throw them in the wash without any worry.
Once you have mixed your tanning chemical, leave the skins in the solution for as long as the instructions state (Leder’s is between 3-10 days).
Remove the skins and rinse them with clean water.
Step 5 – Pin the hides out to dry and apply leather oil
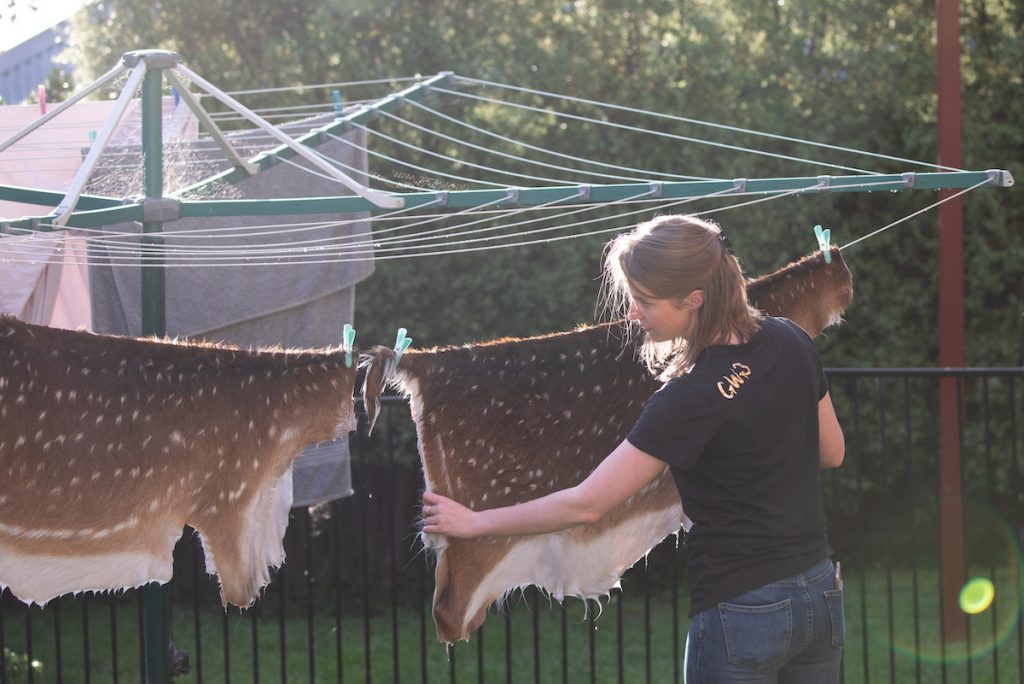
We use large plywood boards to pin our hides out to dry. Use small nails to pin the edges of the skin out while pulling it taught. It is useful to have two people for this process so that you can pull the skin in opposing directions to stretch it. Sit the board upright and leave the skins until they are approx. 90% dry. Apply the leather oil liberally with a paint brush. Leave to dry completely.
And you’re done!
You may want to trim the edges of the skin with a sharp knife to finish. Be careful not to cut the hair on the other side as this will leave the edges looking unnatural. If your hide is a bit stiff, there are a number of simple ways to soften it. We tend to use a bit of PVC pipe, as you’ll see in this video.
Items used:
You can click on any of the pictures to go straight to the eBay listing for each product.


7 thoughts on “Taxidermy at home – how to tan a hide”
Hey Alex,
Yep, we use the same method for deer hides. Pin them out first, let them dry until they are just damp to touch then apply the leather lube. Leave until damp to the touch again, then you can begin breaking the hides. This is what we do and it has worked well. Let us know how you go and if you find any useful tricks along the way 🙂
Hi guys,I’ve just been watching your video of breaking in the rabbit hides.do you do this with deer hides also.if so do you do after you have applied the leather lube and the hide is dry?
Thanks
Awesome thankyou so much
Hey Alex! Yep the brine solution is used to defrost the hide while keeping bacteria from growing and causing hair slip (big patches of no hair on your tanned hide). This can definitely be done before fleshing. Just make sure that you open the skin up as it defrosts so that the solution gets to all parts of the flesh side of the hide. Let us know how you go with it 🙂
Hi would it be ok to put the hides in the methlated spirit mix before they have been fleshed