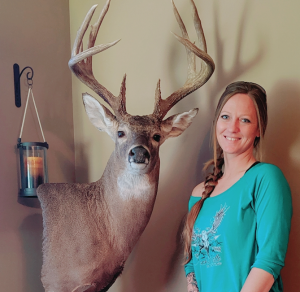
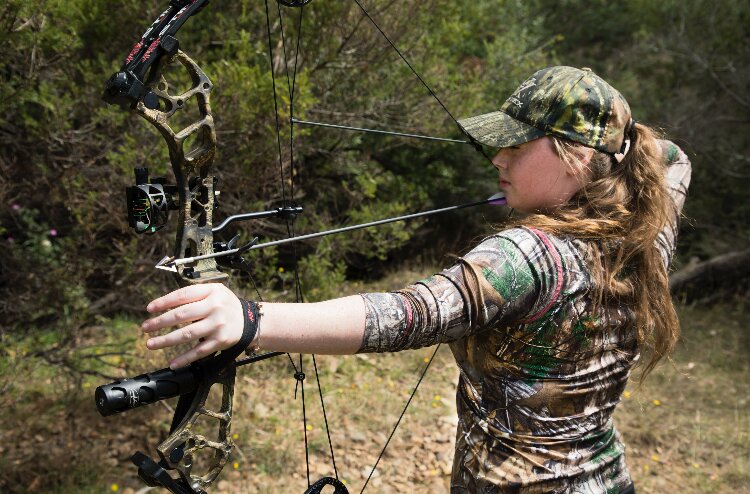
Learning to bow hunt is challenging and rewarding, especially as a female bowhunter. But as difficult as it is, bowhunting is definitely worth the effort.
When I first started learning to bow hunt, I had no idea how hard it would be, how much practice it would require, or even that I would actually need to work on my fitness if I was going to be a successful bow hunter. I also had no idea how much consistency it would take.
Learning to bow hunt is nothing like learning to ride a bike. If you’re not using your bow regularly, you will definitely notice a difference. Your accuracy will be off, and your groupings will probably be all over the place.
To be successful as a bow hunter, you have to work on more than just your bow skills. To take an ethical shot on an animal, you have to get to within 50 yards, and that requires some master stalking skills! You might also need to work on your arm and core strength.
But don’t let the challenges of bowhunting put you off. I promise you; it’s worth the effort. There’s something almost magical when it all comes together and you bow hunt your first animal.
In part 1 of learning to bow hunt, I describe my journey to becoming a bow hunter, and talk through some of the best tips I was given when I first started out. I hope it helps you, as I’d love to see plenty more people getting out there and giving it a go.
From rifle to bow
 I suppose I should start with why I chose to become a bow hunter in the first place. I’d been rifle hunting with dad for quite a few years, and had taken a number of deer for both meat and trophies, not to mention doing regular crop protection hunting with dad for wallabies, kangaroos, possums and rabbits.
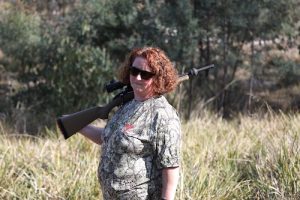
At the time, I was following a lot of hunting profiles on Instagram, especially female bow hunters like Sarah Bowmar, Eva Shockey, Samantha Morgan, and Beka Garris.
I was a pretty competent shooter and thought that bow hunting would be a great new challenge. I also think we need more female bow hunters here in Australia!
The bow that almost defeated me
My brother, Kieran, had a compound bow he used for target practice (he’s never bow hunted with it). I figured it was best to try before I buy and I could always upgrade later if I enjoyed bowhunting.
So I took his compound bow out of the back of his cupboard, where it had been collecting dust, and pulled the drawstring back.
At least, that’s what I tried to do. I couldn’t even manage that!
The draw weight was only set to 45 pounds, but I could barely get that string to move. There was no way I was going to be able to pull it all the way back.
Feeling defeated before I started, I told Dad that maybe it wasn’t such a good idea after all.
A couple of days later, Dad came to pick me up from work and took me to see Roger from Tasmanian Archery Supplies. Dad thought Roger could make some adjustments to Kieran’s compound bow and give me some pointers for getting started.
Getting the fit right
Instead, what I discovered was that I’d made a pretty common rookie error. Roger told me that, when it comes to bow hunting, the bow needs to fit the person. He said the mistake so many people make is thinking any old compound bow would do.
Apparently, this is even more important for female bow hunters as our bodies are built differently to men. Plus, most stock standard compound bows are made for men.
Roger explained all the factors that go into fitting a bow: right or left handed, draw length, draw weight, and arrow length.
When it comes to determining which hand you shoot off with rifles, it is all about your dominant hand. If you write with your left hand, you are far more likely to shoot with your left hand and vice versa for your right. But with shooting bows, it is less about your hands and more about your eyes.
To determine which eye is more dominant, find an object about 10 metres away, such as a clock or a painting. Now, with both eyes open, hold your fingers in a triangle and centre the object in the middle of your fingers.
Next, close your left eye. If the object stays centred, your right eye (the one that’s open) is your dominant eye. If the object is no longer framed by your hands, your left eye is your dominant eye. Repeat the process but close your right eye and see the difference.
To determine draw length, you need to measure the distance between your middle finger on your left finger and middle finger on your right in inches.
Roger told me to stand with my back against the wall and stretch my arms out like a scarecrow. The measurement from my left finger to right finger was 63 inches.
The actual calculation to measure your draw length is to take the distance in inches, subtract fifteen and divide by two. Or if that maths is a bit too complicated, you can just take the distance and divide it by 2.5 (though this isn’t supposed to be as accurate).
Apparently I have teeny tiny T-Rex arms, as my draw length is only 24 inches. That meant my brother’s 28 inch compound bow wasn’t going to cut it.
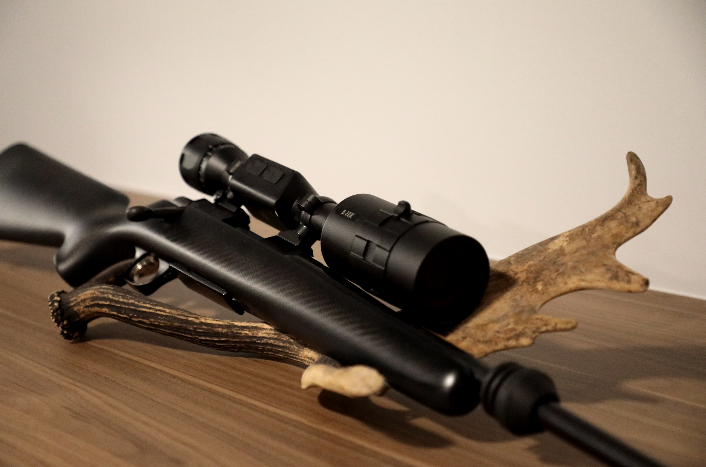
He showed me some of the bows that would be suitable for my short arms. I ended up choosing a PSE Stinger Extreme compound bow.
Getting the technique right
Because it would take a few weeks for my bow to arrive, Roger made a few quick adjustments to Kieran’s bow, dropping the draw weight down to about 40 pounds. The bow itself was still too long for me, but by reducing the draw weight, I could at least draw it back and practice my technique.
Roger then ran me through a real basic 101 lesson. I learned:
- how to nock an arrow
- how to correctly draw the bowstring back
- how to find an anchor point on my face
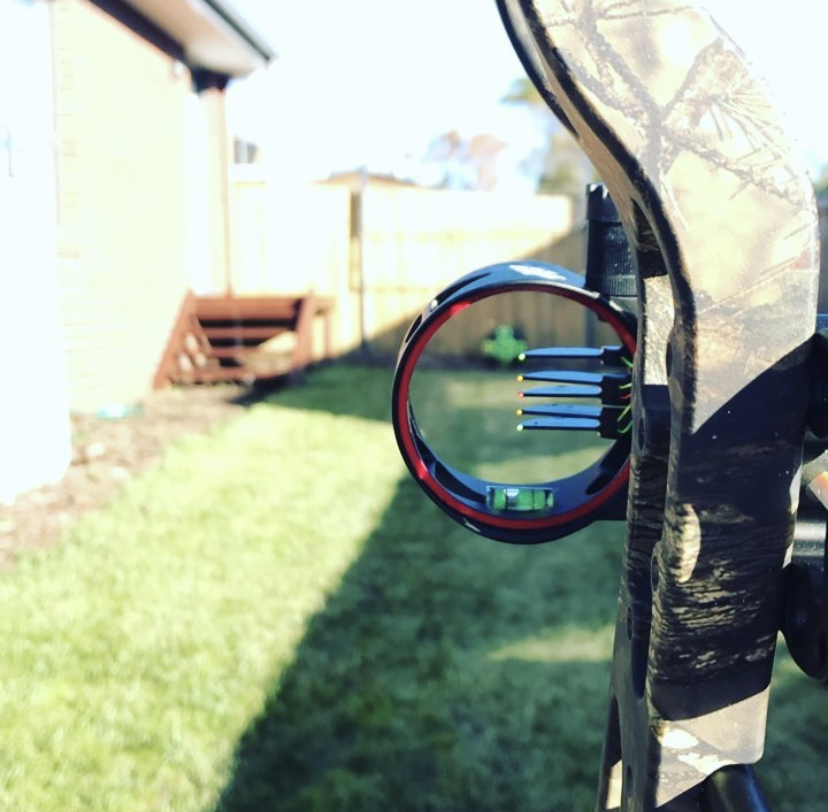
- how to use the peep sights to determine where I wanted the arrow to go
- how to correctly release the arrow.
He also told me not to grip the bow too tightly, as it can affect the trajectory of the arrow.
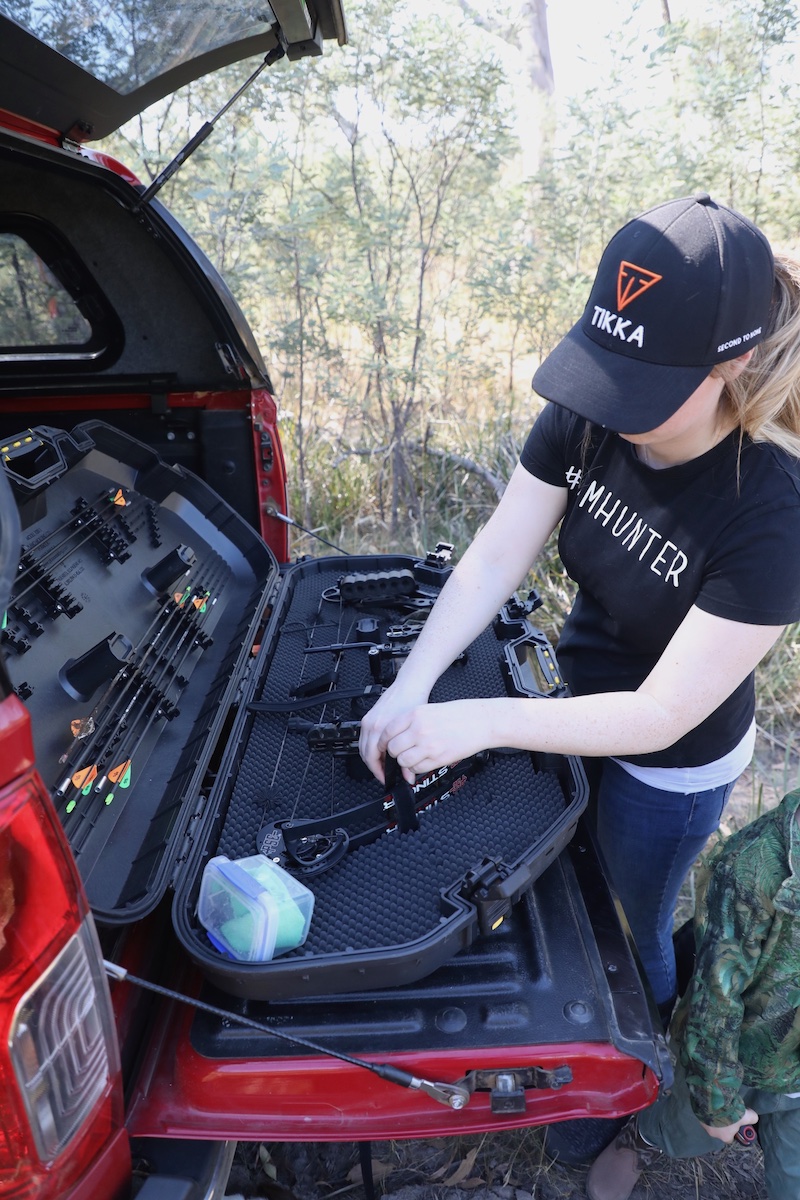
Backyard training
Back home, I started putting these techniques into practice. One benefit to bow hunting over rifle hunting is you can practice pretty much anywhere.
We live in suburbia, and have about a 20 yard stretch along our back fence that made the perfect archery range. As it was summer, daylight savings gave me the benefit of getting a few hours of target practice in after work each day.
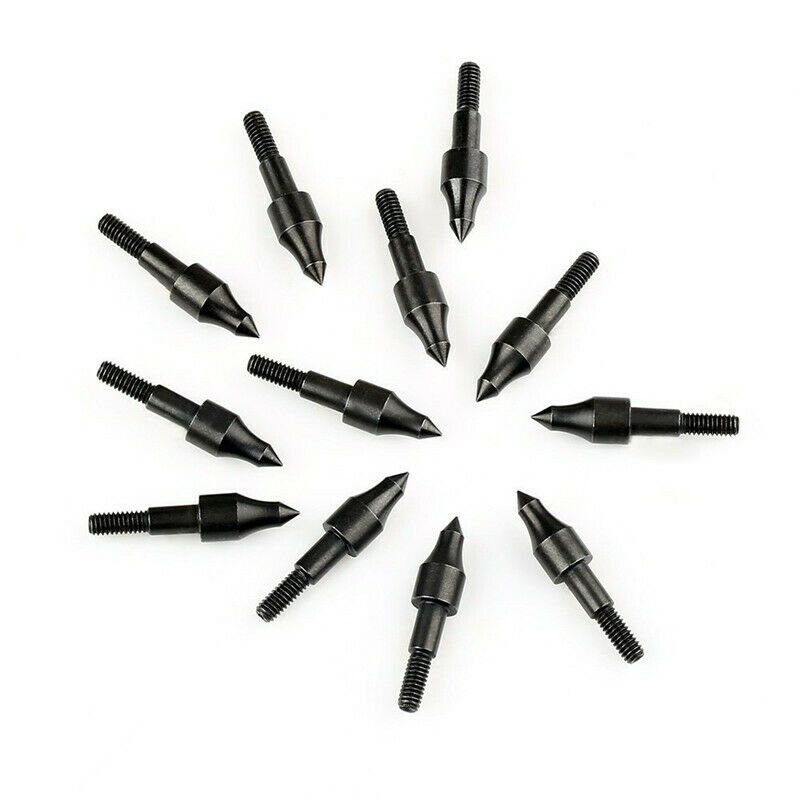
At first, I just used the flat, square archery target Kieran had used. It was made of straw, which was fine when I was using field tips, but made it pretty hard when I switched to broad heads.
After a few weeks, I upgraded to a 3D foam cube target, which has about 14 different bullseye targets on it. This was great for working on really tight groupings.

Finally, I got the call from Roger to say my PSE Stinger had arrived.
A perfect fit
Dad and I popped around to his workshop that evening and Roger did a few adjustments to make it a perfect fit for me. He had also cut about twelve arrows to fit my draw length.
It’s going to sound weird to anyone who hasn’t ever had a bow fitted to them, but I could not believe the difference it made!
While I had done okay using Kieran’s bow, I really struggled to get any consistency on my shots. If I had kept going with that bow, it would have caused real problems with accuracy out in the field. And that would mean more chance of an injured animal.
Tasmanian Archery Supplies has a basic archery range set up out the back for both 10 and 20 yards. I started on the 10 yard range and fired off a few arrows, with Roger providing some constructive criticism on my technique to help me improve.
- Don’t grip the bow too hard
- Pull through the trigger on the release; don’t squeeze (like a rifle)
- Watch my breathing. If you shoot when you are breathing in, it actually lifts the front of your bow slightly so always shoot on the end of your breath out.
We then stepped it up to the 20 yard range, and repeated the process, with Roger again correcting any mistakes I was making.
While the lesson didn’t last too long, it was amazing just how much I learned from him in that short space of time. If you can get someone to give you some hands-on training, I would highly recommend it.
Back at home, I put Roger’s tips into practice.
Perfect practice makes perfect
The next step was to leave the safety of my backyard and get some real field testing done.
We took the 3D cube target down to the farm, where Dad has a rifle range set up. I set up a make shift 50 yard range on the track in, which would allow me to practice longer shots.

Everyone says that practice makes perfect. When I was competitive swimming, my coach had a variation on the old proverb. It’s not practice that makes perfect, but perfect practice that makes perfect.
You can practice every day, but if you’re practising using the wrong technique, you won’t be successful. You have to have the technique right or you will default to the wrong way of doing things.
It’s pretty much the same with bow hunting. A lot of people stand 20 yards out from a target and shoot straight at it.
But, I have learned the hard way, things rarely work like that in the field.
When it comes to actually taking a shot on an animal, you rarely get to stand straight in front of it at 20 yards and take a clean shot.
In fact, my first shot at a deer was taken on my knees after crawling the final 100 yards on my belly!
Perfect bow hunting practice means getting comfortable with how you will be hunting. Don’t wait until you’re in the field to shoot that way for the first time.
You also need to be able to take the shot from a number of different angles.
If you are going to be spot and stalk bow hunting, practice crawling along the ground with your bow over your shoulder. Practice shooting your bow from your knees or bottom. Practice slowly getting up while nocking an arrow and drawing back the bow string.
If you’re going to be shooting from a blind, set one up in the backyard and practice shooting out of the window. Practice in low light and midday sun.
If you’re going to be predominantly shooting from an elevated position, like a tree stand or elevated blind, find some way to replicate that scenario in your practice. Stand on a chair or step ladder to get used to shooting your arrow in a downward trajectory.
I also got myself an Accubow, which is great for both developing muscle memory and strength. You can also buy an attachment for the Accubow that hooks up to an app on your phone, and allows you to use it as a virtual training program and ‘hunt’ moving targets – albeit it, virtual ones!
In short, get comfortable shooting the way that you’re likely to bow hunt in the field. If there’s one thing I have learned about bow hunting – it rarely goes to plan.
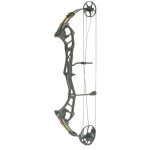
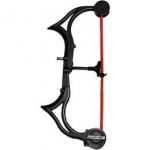
PSE Stinger
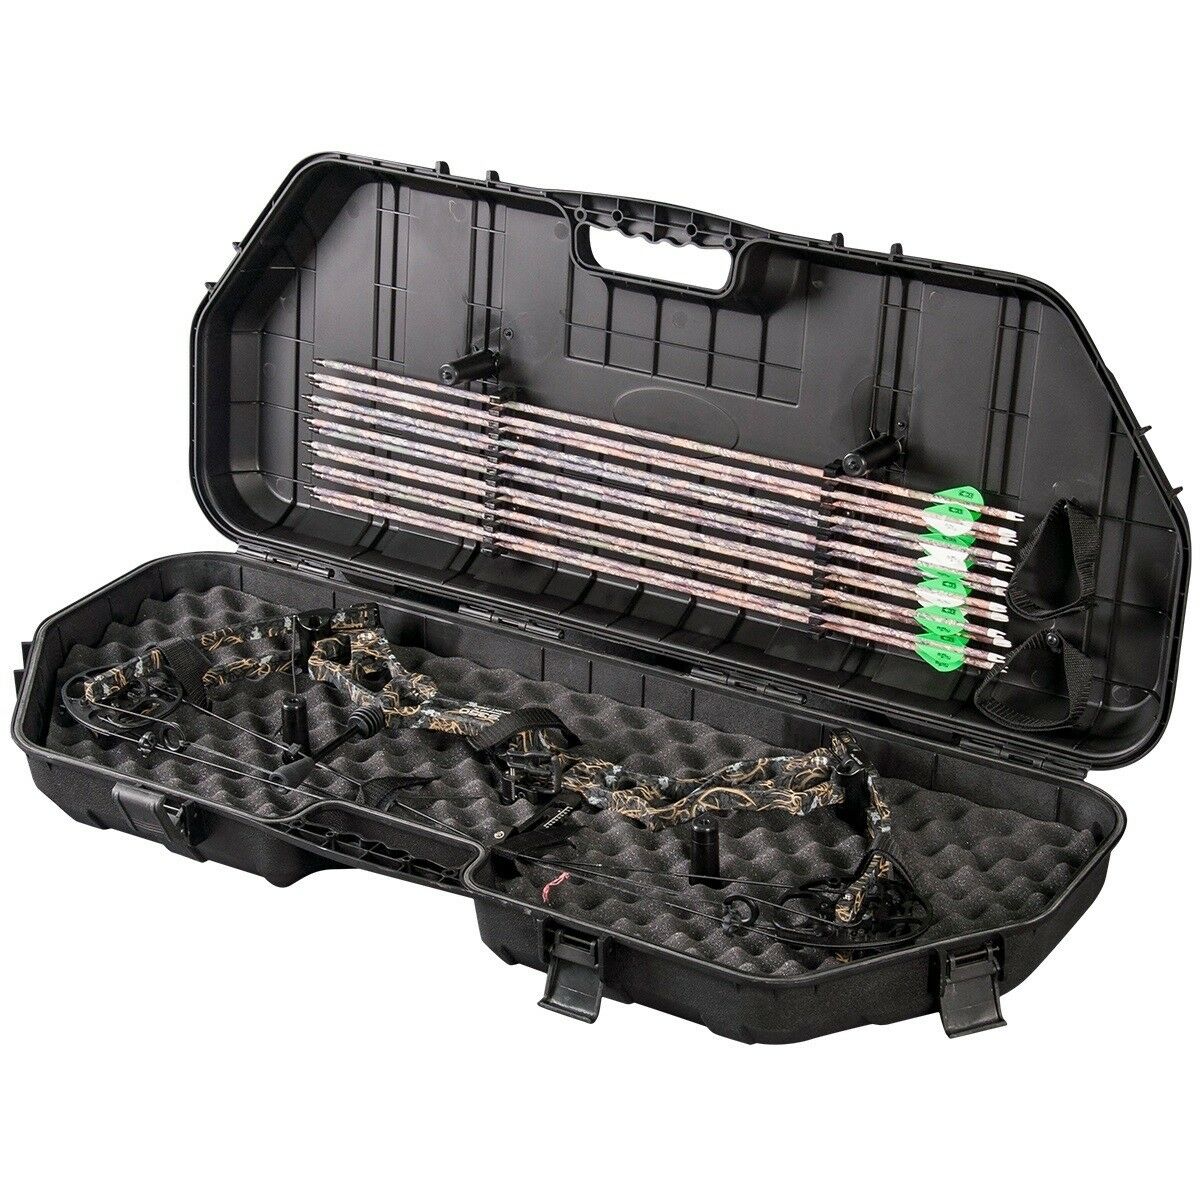
Hard Bow Case
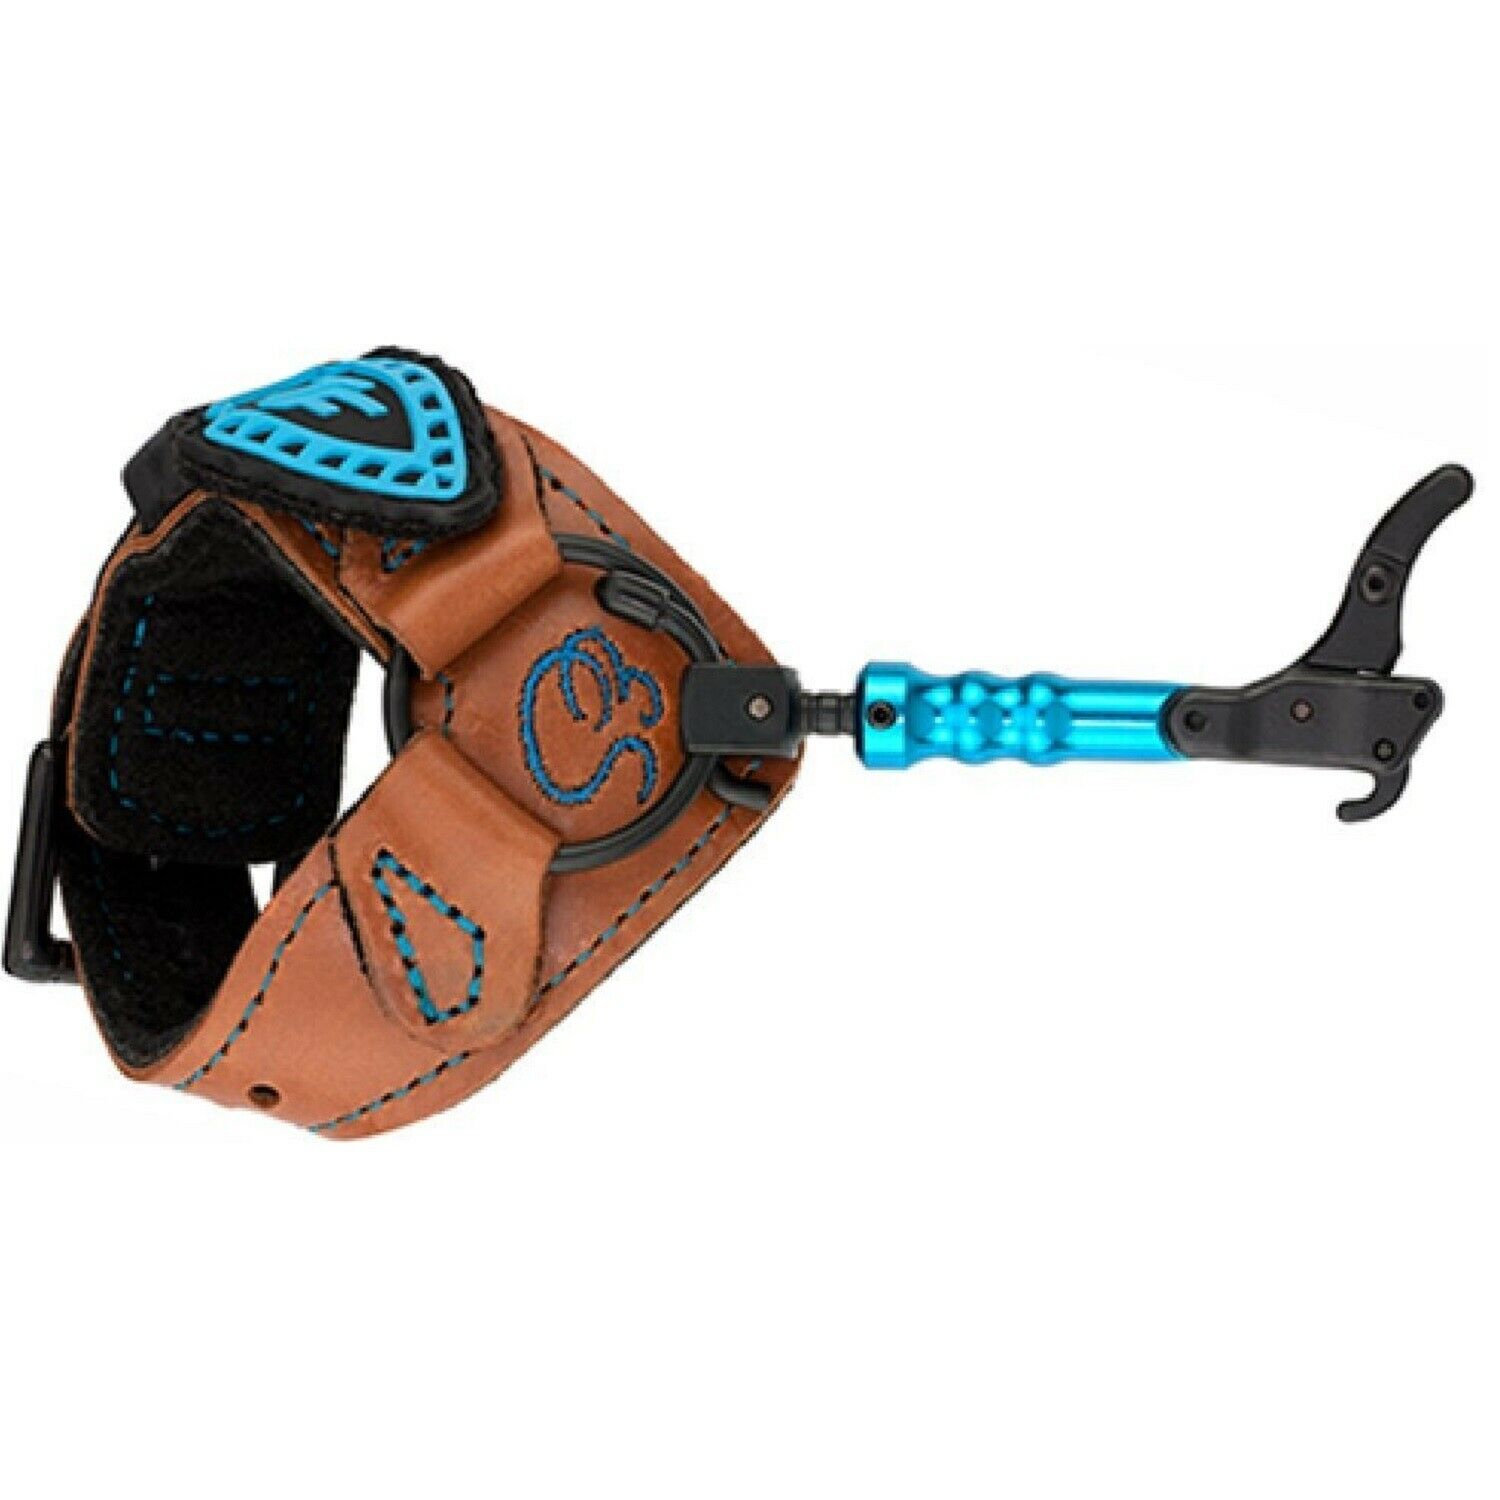
Bow release
Accubow Training Tool
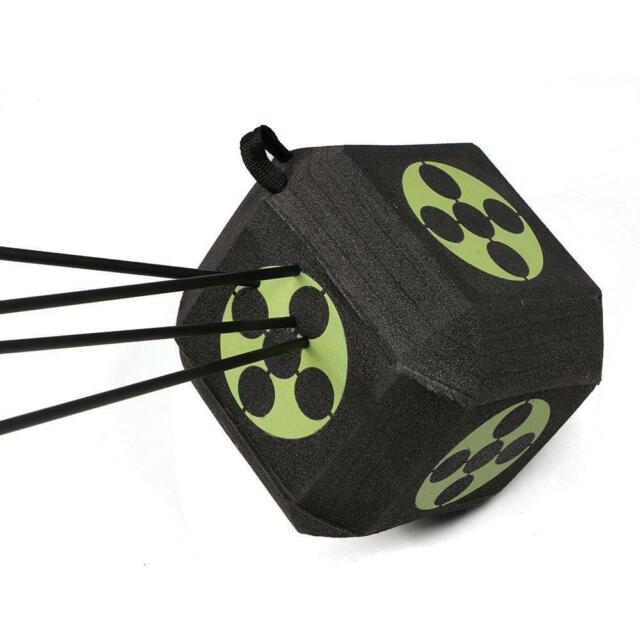
3D Archery Target