


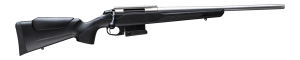
Tikka T3x CTR .223
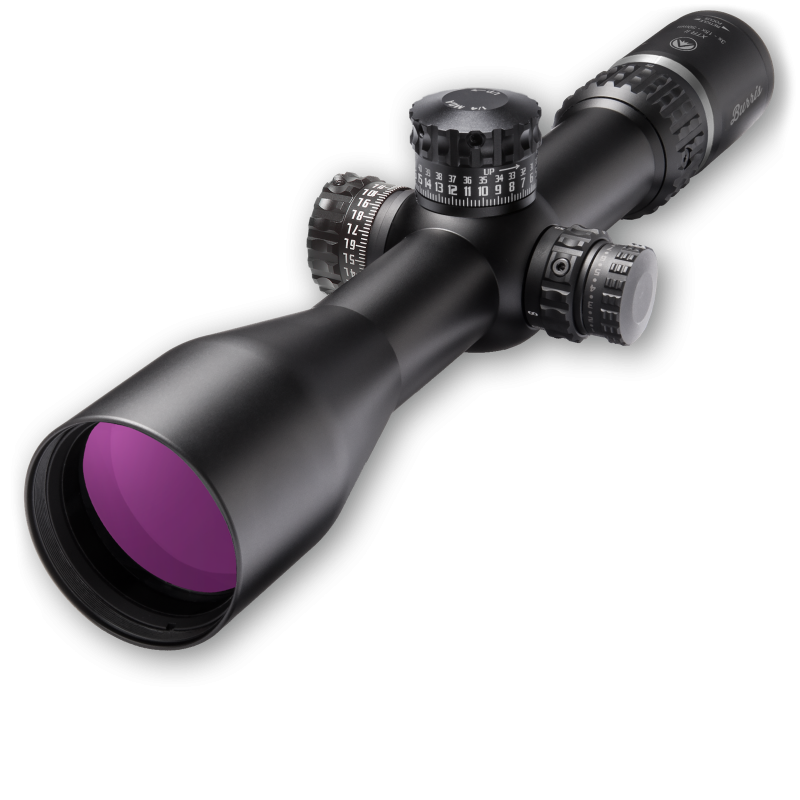
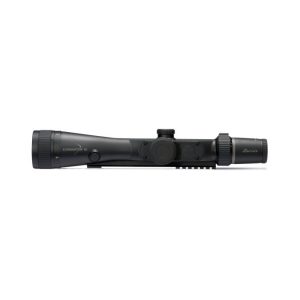
Burris XTR II 3-15x50
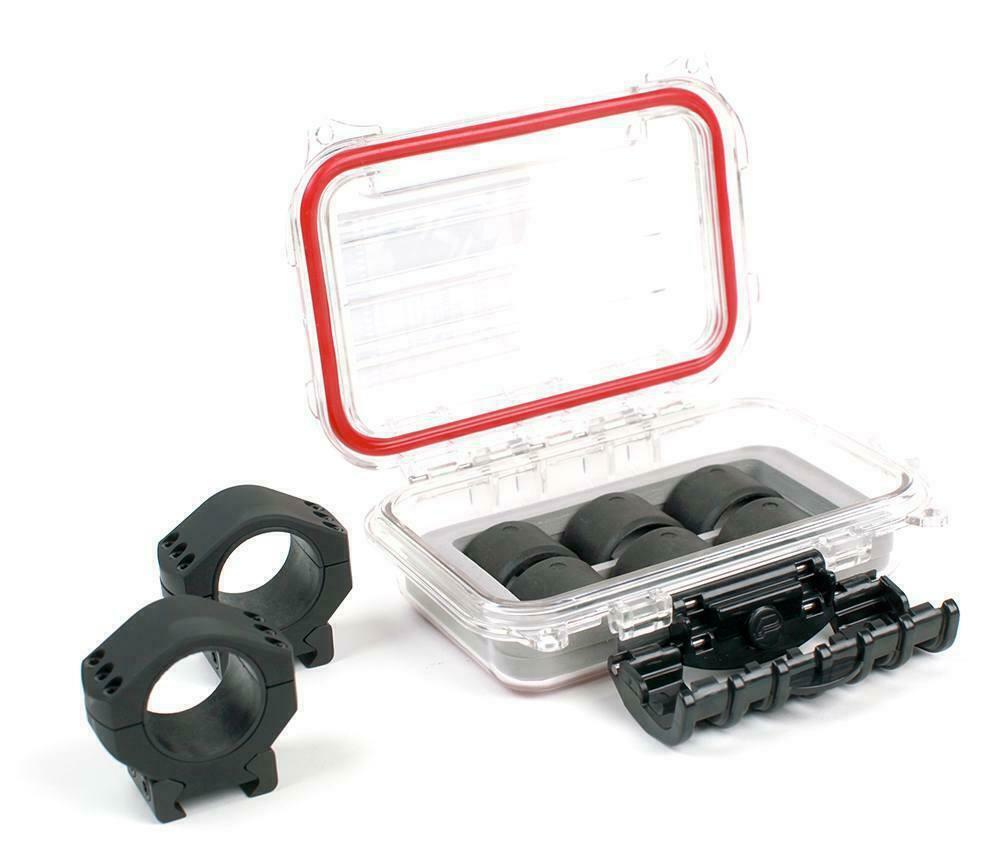
Burris XTR Signature Rings
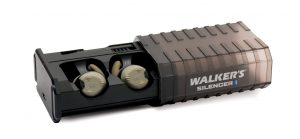
Walker's Electronic Earbuds

Atac Pro 100 Yard Targets
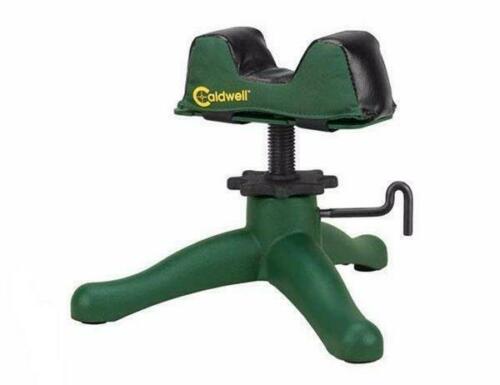
Caldwell Front Rest
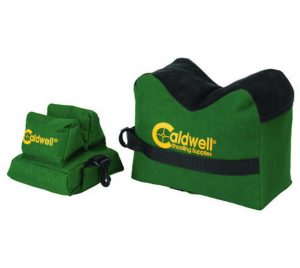
Caldwell Front & Rear Sandbag